The Icarus Inn : Week by Week development
- emilykenny20
- Feb 8, 2022
- 6 min read
Updated: May 1, 2022
WEEK ONE : GETTING STARTED
To Start any project its important to gather reference and source material to either inspire or solidify design ideas after looking over the brief , taking into mind requirements of said brief.
I decided to put together a mood board (a compilation of related images ) using the software pure ref. a helpful tool that allows me to look at me references whilst also modelling. I personally find it more helpful to have one big mood board divided into sections then a bunch of separate ones , that way I don't find my self scrolling through my files trying to find a mood board for a door,

Side note : this is not the final mood board during the modelling process i will likely be constantly adding to it as needed.
After Generating some ideas I start to lay out what's needed for a project like this. to insure I can get the scope right (and so nothing important creeps up on me to do last minute) I create a list of assets. Breaking them into categories also helps me to prioritise what to model.

The next thing I did was do some loose messy sketches to get a basic idea , i didn't want to spend too much time on super neat developed ideas when they where still subject to change at this point,


I also jotted down some other key ideas like motifs for the building and the sign which is a key part of the branding.


WEEK TWO : MODELLING AND BLOCKOUT
To start the blackout I needed to get the measurements of the plot of land , in the brief we are given an 8 by 8 meter plot of land.
I change my measurements in the Maya scene accordingly and start to think about how to divide up the walls and how tall the walls should be.
In this image each square is a meter which gives me a good reference as to how big everything else should be, I was also provided with a size accurate human to put in the scene later.


In addition after modelling important assets like the bay windows door and other I had to take out and modify the geometry of the walls so that when in engine my windows which would be transparent wouldn't just have a wall texture behind them.
I achieved this by using the combine mesh tool using a mix of difference and intersection when needed.


WEEK THREE: DEVELOPING ASSETS FURTHER
This week I started to further develop my assets and also start developing my idea and block out more. This is where I started to run into some issues with how my models looked. I think due to my lack of solid 2d designs I had an issue with making them look how I intended so i decided to remodel everything to fit my vision better.


WEEK FOUR : MODULAR PIECES AND SIGNAGE
In week 4 I was inspired by other students work around me to give my building more of a profile by adding various pipes and guttering I planned to add pipes in initially but thought it'd be more thematic to have the sticking out the front of the building.


Next Was signage which would be an important part of my branding I new I wanted the hanging sign to be a sun to link back to the name of my tavern , Icarus , but I also wanted a fancy outside sign that you see outside of cafes or classic English pubs.

My reference for signage :


I also remodelled my door to have sun motif.

WEEK FIVE : UPDATED BLOCKOUT AND UVS
I had my building together and it was time to start on Uv unwrapping my objects , I did go bac and change the roof after some feedback because it didn't look like it fit in with the rest of the models.

Pieces lined out and ready to be Uv unwrapped :

Some examples of my Uv :


WEEK 6 : CREATING TILEABLE TEXTURES IN SUBSTANCE DESIGNER
In substance designer I started to create some tillable textures for my building , I wanted to create a brick texture , stained glass and a path texture for the diorama I was going to put my building on.
Pavement;

Wall:

Window:


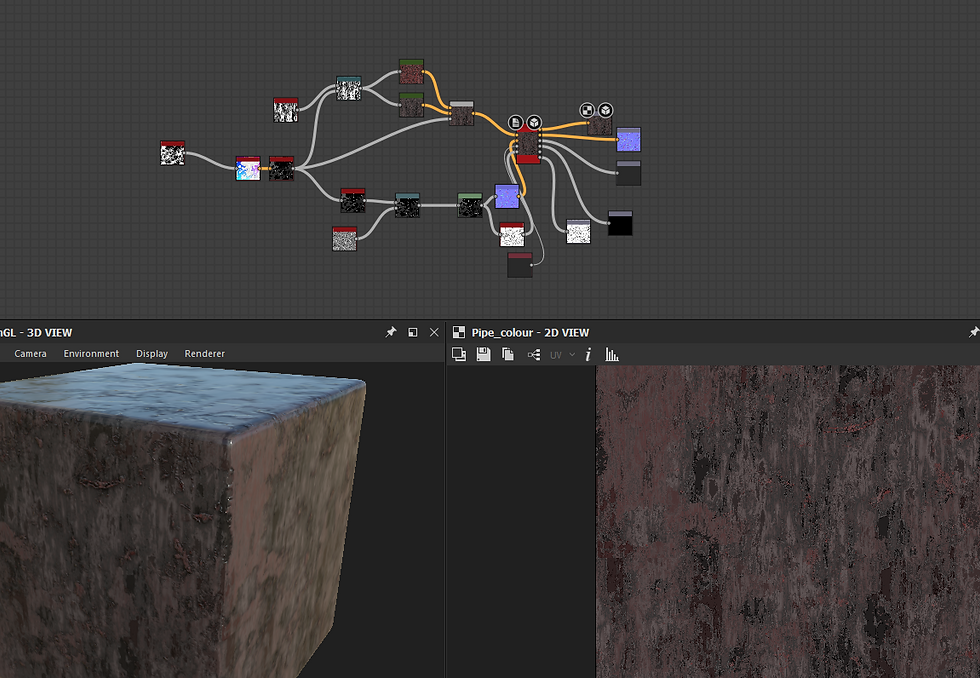
Pipes :

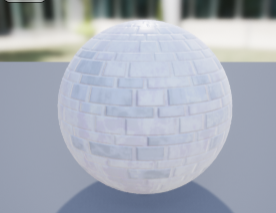
How the textures look in unreal engine :


WEEK 7 : TEXTURING ASSETS IN SUBSTANCE PAINTER
This week I started to texture my individual assets such as windows and doors and various other things in substance painter. I wanted everything to fit in with my colour scheme so far so a lot of it was dark purples oranges and yellows. I also had the idea to make everything look like it was covered in gold flake or that the owner had dry brushed/painted everything gold and over the years its chipped and worn away.

WEEK 8 : MORE MODELS AND UNREAL ENGINE

I decided that mid way through week 8 the outside of my Inn was looking bland and not a full as it could be so I added additional models after some feedback to the side and top of the building as well as some more small assets to add a little more character to the scene like wine bottles crates and barrels.

At this point I also was starting to work at getting all my textures and new models into unreal engine so that next week I could add lighting and special effects.


Week 9 : PARTICALE EFFECTS AND LIGHTING
I decided to add more flare to my scene I wanted it to be raining , I thought an overcast sky and rain would be a funny juxtaposition to my inns sun theme branding and would give the inside a nice warm glow making it look crozier. it was also a good way to start learning fx by starting off with a nice hopefully easy to achieve particle system. I achieved the effect by using unreal particle system cascade.

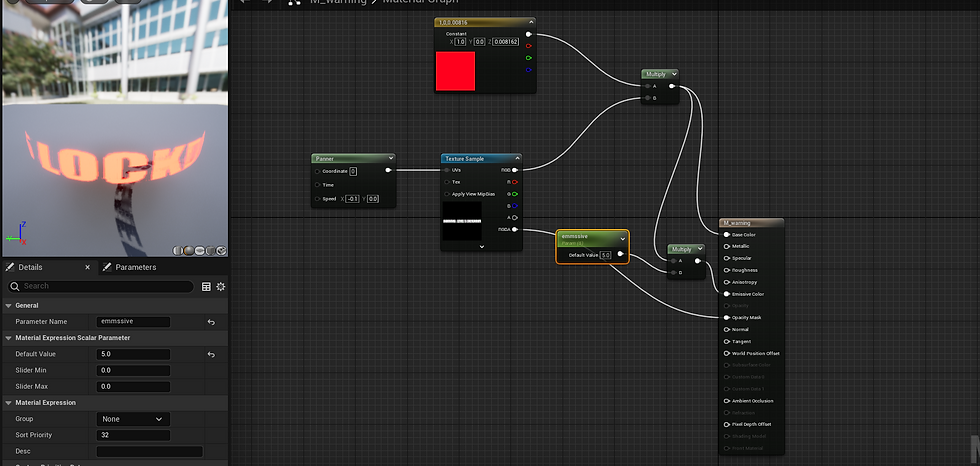
I first made a translucent material and the assigned it to the particle emitter in the editor
I then played around with change the rate , speed and direction the particles fell at as well as the size of the particle effect as whole making sure it would cover the entire area of the building. If I was to do this differently next time I would try to make puddles and a splash effect in my scene in order to add more realism.


I then started to add more lighting to my scene such as the wall lights and the street lights. to contrast against the blue night sky I set them all to warm soft orange.

WEEK 10 : THE INSIDE OF THE INN
I modelled some interior objects ,textured and Uv unwrapped for the inside of my Inn I tried to give it personality and harry potter theme by making the bookshelf wonky and uneven and including the house colour on the books. Since I was part of the Hufflepuff team I added yellows goblets and chairs as well. to continue the branding on to the inside of the shop I added some art of the characters that this project was inspired by as well as adding the gold paint details and gold accents where I could.


WEEK 11 and 12 : FINISHING TOUCHES AND CINEMATIC
I finished off the inside of the Inn and reimported various textures and objects that had some problems with Uv maps or scaling. This was just some final polish and cleaning up on the project before I filmed the cinematic for my hand in. I filmed said cinematic in unreal engines sequencer.


FINALE RENDERS :


FINAL COMMENTS:
Overall I think I achieved what I wanted to with this project. I learnt how to make my own tile able textures using substance designer which gave me more control over how my assets ended up looking if I was to go back and do this area again I would probably aim for them to be more realistic and have more grunge and variation as well as learn how to make a tillable texture for the roof.
I think a lot of my models ended up really well but I would go back and add more models and design into the inside of the building as well as better optimise some of the smaller assets like the goblets and lanterns. I also wasn't completely happy with the bay windows they could have looked better and included branding for the shop.
I really enjoyed dipping my toes into visual effects , I think I could have added smoke coming out from the chimney and maybe some fun magical lightening or other effects to really sell that this is a Diagon alley building.


Comments