GART 230: Recreating Jareth's Throne Room
- emilykenny20
- Oct 10, 2022
- 10 min read
Updated: Jan 25, 2023
"You Remind Me Of The Babe" "What Babe ?" "The babe with the power!"

fig.1 : Jim Henson's Labyrinth, Theatrical release poster, by Ted CoConis ,Henson's Associates, Inc ,Lucas films , ltd.
For my GART 230 Assignment we had to recreate a scene , either from a film or TV show, into a Game ready environment for Unreal Engine 5.
Deciding on the scene:
If the title and cover image and quoting of David bowies "dance magic" wasn't' a clear give away I decided on a scene from Jim Henson's labyrinth after many suggestions from friends and family and lectures in week 1: project planning, it was my mum reminding me that this 80s gem of a film existed that sparked my creative intrigue. I have fond memories of being scared of out of my wits by the puppets and falling in love with the music of this cult classic film.
Whilst the film is best known for its iconic puppet work, its set design holds a certain magical whimsical charm that I can't help but feel nostalgic for. I knew going into this project that the throne room was going to be the scene to adapt , so many great assets like the Goblin King's throne , the stone face adorning the wall , the 13 hour clock. I also knew it would be the most difficult scene to adapt , due to it's circular layout and sheer amount of props that filled the room. However, with careful planning and time management like my lecture on project planning suggests I should manage to tackle it. Thus, I dove into the project ready to get some blurry references and great backing music.
Gathering Reference:
fig.2 : dance sequence from: Jim Henson's Labyrinth, 1986 {film} Henson's Associates, Inc ,Lucas films , ltd.
The first and most obvious place to gather reference from was the original movie itself , the Throne room despite being one of the more detailed and iconic set piece for the film is only shown 3 times , once during a song and dance number , once in which Jareth orders the goblin's to hide Toby and the final time where Sarah briefly rushes through at the end of the film. Like the lecture on project planning suggested I used the software Pure Ref to compile and organize my references the software was useful because I could pin it on top of my programs whilst modelling which I felt helped maintain accuracy. Plus like the slide said it's free!

The first Scene was good for getting closer shots of certain assets like the throne ,wooden ribbons and the thirteen hour clock but wasn't the best for getting a sense of scale, like most of the movie the camera seems to be filmed with some distortion at times it seems like the scene was shot with a minor fish eye lens. This made scaling assets with accuracy a little challenging.
The final scene we see with Sarah proved much more fruitful for getting a scale for the circumference and height of the room.

It was from these references that I got my initial measurements from , though like all images I have found from this film the lens distortion should be noted. I decided much like my lecturer had done I too would use an actor as a human measuring stick. I found the height (1.69 meters) for Jennifer Connelly, Sarah's actress ,fairly easily and got to measuring.


Breaking down the scene :
After gathering my initial set of images , I broke down the scene into my asset list , deciding the most modular basic piece (walls, windows etc..) , what I refer to as "fluff" things that generally fill up the scene and make it look believable and my hero assets , this list was not entirely fool proof but would give me a good idea on where to start and a sense of scope and priority.

I also started to break down what I thought was the layout of the room since there was no floor plan or concept art of the throne or at least none that was made publicly available.

After my initial sketch and a few fumbled attempts of a block out in Maya it was back to the drawing board as I realized that the entrances and throne couldn't line up like in the sketch and that the room wouldn't have been circular if they did. After some more digging I came across a behind the scenes interview where I saw that they moved the walls of the set around to get the shots that they wanted and that they never actually show the segment of the circle that was throwing off my math and floorplan.

fig.3 : behind the scenes footage: Jim Henson's Labyrinth, 1986 {film} Henson's Associates, Inc ,Lucas films , ltd.
This is where I had to take some artistic license with the scene and the project, from here on out I took the approach of thinking like a game developer rather than a film fanatic trying to make a 1 to 1 recreation of the set. I decided that the goblin king's room was probably symmetrical and would mirror the window segment on the side that wasn't shown.
There was also the issue of the ceiling its cut off rather abruptly due to the nature of the ratio it was filmed in and on set so I decided to yet again search the internet to see if I could find any other reference material for scene. Turns out there was indeed more content ! two notable examples being the sequel manga, which while interesting added little in terms of architectural refencing, and the prequel comic book series by by Simon Spurrier and illustrated by Daniel Bayliss, which helped to fill in the blanks that the film left.

fig.4 : Comic strip from Simon Spurrier' Labyrinth : Coronation ,2018-2019 , Archaia Entertainment
More sketches and math ensued and I was finally able to go forth with a block out plan I was comfortable with having separated the room into eight segments.

Block out:
Using Scale man I was able to block out the walls and scene using my previous references with the human measuring stick. It was important to prioritize the larger modular pieces as while not the most iconic parts of a scene are undoubtedly the most important as you'd definitely notice an environment without walls and a floor.


After modelling the place holder walls , floors and trim I then started to block out the smaller details such as the throne and face stones.


Modelling assets :
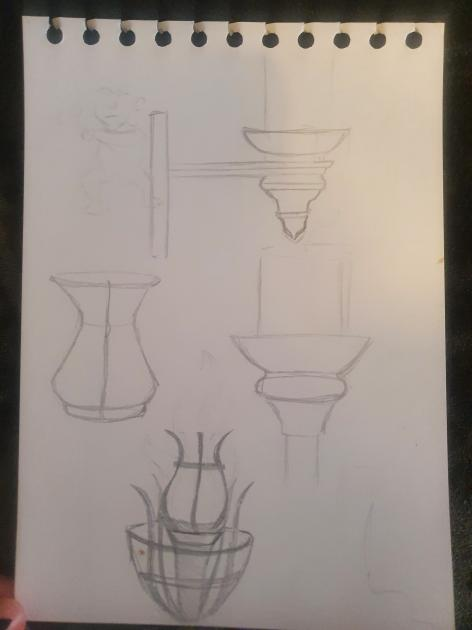
Due to the labyrinth being an 80s classic the screenshots and references aren't the most stunning resolution, smaller objects and background assets ended up being quite hard to see this meant I could take creative liberty when modelling. Even so I tried to be as accurate as possible and drew sketches after observing the silhouettes.


Assets textured:
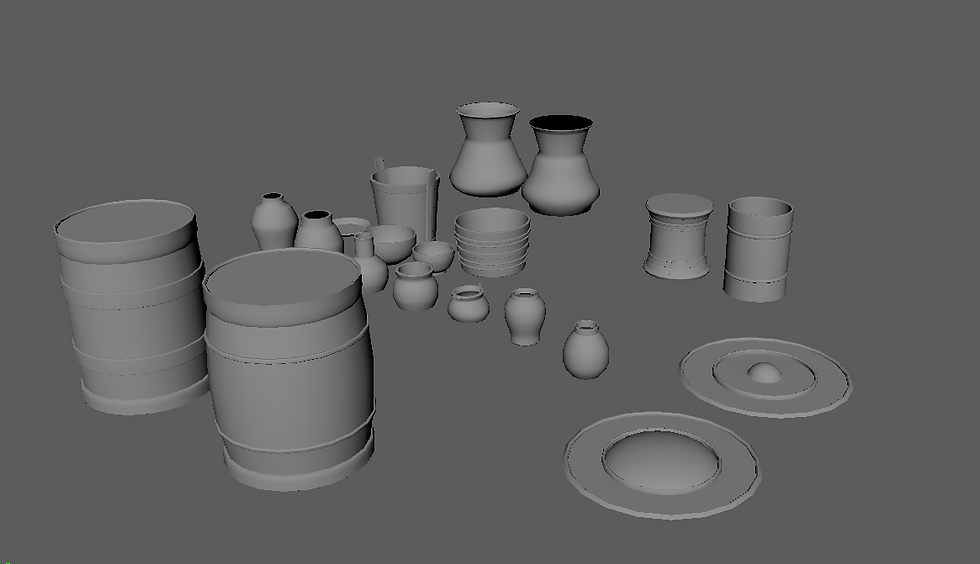
When considering what materials (e.g. metal ,rubber, clay) to texture my assets I remember that it was stressed to us to think about the context of the environment not as a film set but in universe. With this in mind plus a little more freedom due to the blurry images, I reasoned that the goblins would use a lot of rusted and worn materials its implied that in the film that the goblin kingdom is the opposite of what Sarah envisions its not a perfect fantasy realm everything is kind of rusted over, the plants are dying and everywhere seems covered in dust and decay. Thus I made sure when texturing my smaller assets (in substance painter) like the plates bowls and various vases and barrels to make them out of worn metal with grunge, rust and dust occlusion masks to reflect this fading world.

Certain assets did require more attention to detail like these barrels/vases when looking at the reference I realized that simply using substance painters default materials wouldn't create the same level of detail or look of the asset from the film. So I opted to hand paint the dark blue streaks and stains on the assets to get the effect I was looking for.


Refining and developing assets in Z brush :
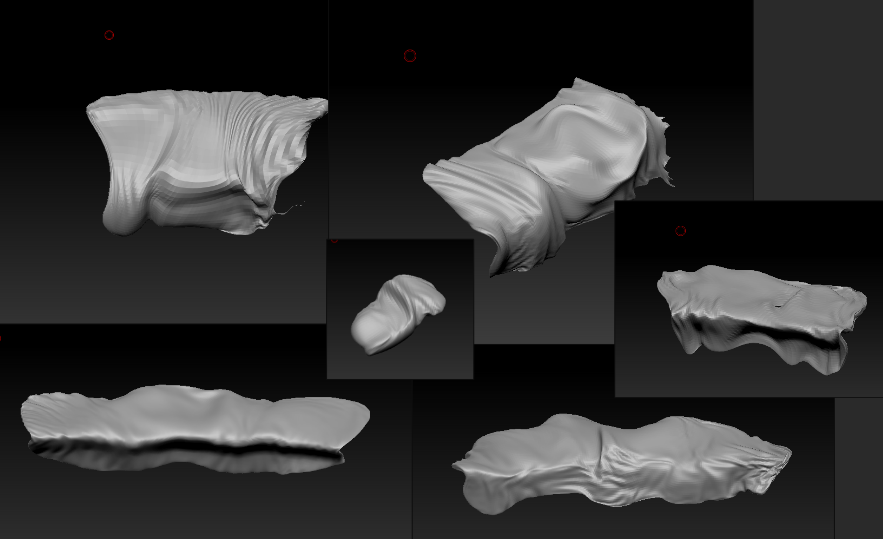
I further refined assets like the face stones and candle wax in z brush using simple primitives and the basic sculpting brushes like clay, clay build up ,move and dam standard. After doing the high poly models in z brush I retopologized them in Maya so a I could bake the detail later onto to the low poly models.


I also played around with the cloth transform and cloth manipulation tools in z brush to create the fabric scattered across various parts of the throne room.

Importing into unreal :
Importing into unreal was a gradual process first starting with the basic modular pieces and gradually adding and adjusting the position of objects whilst simultaneously modelling, texturing and generating custom particle effects and textures using other programs like substance designer and ue5s Niagara system.
version 1

version 2

version 3 and version 4

Hero asset clock :
Developing the clock asset was probably my favourite part of this project I started with basic primitive cylinders in Maya for the many body of the clock and bell and used extrudes bevels and edge loops to fill out the detail. I used the type mesh tool to get the numbers and manipulated the vertexes to get the numbers looking sharper and more like they do in reference as well as cleaning up any engons that the type mesh tool created.


When texturing the clock asset it was important for me to build up the metals and the levels of grunge and wear I took care in adding corrosions and the levels of wear in the edges. It was also important to add the green stains that you can see in the references.


I decided to sculpt and texture the little brass goblin separate from the clock in order to give both parts of the asset enough attention to detail when texturing and posing.

Hero asset : throne
Modelling the throne was one of the more challenging aspects of this project after starting with primitive shapes and then working them into the basic framework of the throne I imported the model into z brush.


Sculpting the high poly was a long process of using z brushes cloth tools to push and pull and sculpt in the fabric I wanted. As well as the flattened gobbling on the throne of course.
In the end I wasn't completely satisfied with the way the thrones high poly turned out I think if I dedicated more time or was to re do this part of the project again I would try using a different pipeline like marvelous designer to generate the fabric.


I used quad draw in Maya to retopo the throne into a lower poly version for the high poly version to bake onto. Even if its a hero asset dedicating 100k polys to a non player /enemy model isn't with industry standard nor is it great for optimization.


Substance designer developing custom textures :
I created a few textures initially for my scene using substance designer. Starting with basic patterns adding one or two basic blend nodes and using gradient maps for colour.


Revised textures:
After receiving feedback on my textures I realized that I wasn't happy with the out come and went back to revise the floor and wall textures taking greater care in generating the surface detail this time and playing close attention to how the values and blend nodes/blending modes effected the outcome. I also took greater care in making them realistic the first iteration of the main bricks was too extreme the rotations too random and the scaling was off when imported into engine.

Revised floor texture


Revised wall tiles


Textures in engine

I think the revised textures turned out way better in engine both in the sense of depth they had and the colour profile feeling more accurate.
Particle effects:
Particles effects and Vfx was a personal goal of mine on this project , I wanted to try my hand at fire in particular. After reading through the "Creating Visual Effects in Niagara" on I felt fairly confident in making the following particles from a blank emitter system and a hanging particle blank system.
Dust:
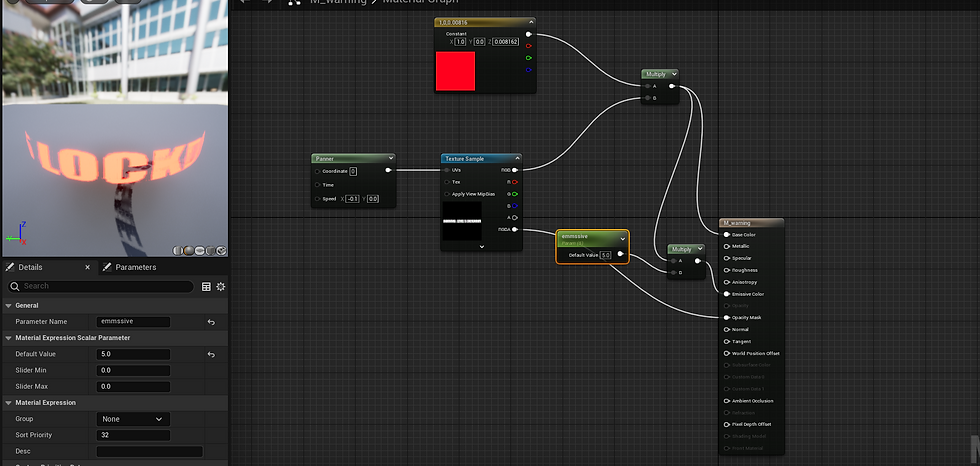
The first step was to generate a translucent material with a gradient to make sure that the dust was there and visible but not overly invasive and would cause visual clutter.

In keeping with the idea of not making it too cluttered visually I set the particle rate fairly low for a more subtle effect

A cylinder was a pretty optimum shape for this project considering the room was essentially one big open cylinder.

I did want to add more realism by having variation with the dust particles size and easy way to achieve this was adding the following curve functions and having the colour and opacity scale as well.


A curl noise force allowed for the particles to spin off in different directions with a spin and variation this made it more life like than having them all fall at the same time in one downward direction.


Candle flame:
The candle flame was probably my favourite effect I made in this project I used many similar techniques as above with different value for effects but I also found it satisfying to add the scale by colour node. In addition unlike the dust I had to enable kill particles when life ends due to this effect being an emitter. un ticking this would cause optimization issues and likely crash unreal.


Flame:
The difference with this emitter is the shape a cylinder actually achieved the effect of the flames spinning out and the flying embers better. I think after a lot of editing and playing around with values the finished effect looks very similar to the reference in the film.

Clouds :

Cinematic :
After feedback of my first cinematic pass I went back and tweaked the movement. I was told there where too many parts where it felt jumpy and that it was to fast in places. More feedback I got was to slow the video down and lengthen the transitions in between my shots. these minor tweaks increased the videos length but allowed for a better show case of my models and particle effects. In addition I added some music to convey the tone.
Final Cinematic :
Renders :


Asset layout 1

Asset layout 2

Asset layout 3

Asset layout 4

Reflection :
I am really proud of this project I think I pushed my skills and improved my work flow form my last project in many ways, I improved most in generating custom textures and making vfx within unreal engine 5. I think for my next project I will make use of more programs to generate more realistic fabrics and cloth as that's something I struggled with during this project.
References :
Jim Henson's Labyrinth, Theatrical release poster, by Ted CoConis ,Henson's Associates, Inc ,Lucas films , ltd
Jim Henson's Labyrinth, 1986 {film} Henson's Associates, Inc ,Lucas films , ltd.
Simon Spurrier' and Daniel Bayliss Labyrinth : Coronation ,2018-2019 , Archaia Entertainment
Jake T. Forbes and Chris Lie Return to the labyrinth, 2006-2008 , TokyoPop
"Creating Visual Effects In Niagara For Unreal Engine " source : "https://docs.unrealengine.com/5.0/en-US/creating-visual-effects-in-niagara-for-unreal-engine/"
Klara Louise "as the world falls down(labyrinth) David Bowie piano cover). 2015 source : https://youtu.be/4xRMrWXikWk
Programs used :
Adobe Inc., Adobe Photoshop,(2022) Available at: https://www.adobe.com/products/photoshop.html.
Adobe Inc., Adobe Substance 3D Designer ,(2022) Available at: :https://www.adobe.com/uk/
Adobe Inc., Adobe Substance 3D Painter,(2022) Available at: :https://www.adobe.com/uk/
Adobe Inc., Adobe Premier Pro ,(2022) Available at: :https://www.adobe.com/uk/
Pixologic, ZBrush (2022) Available at : https://pixologic.com/
Autodesk, INC. Maya,(2023) Available at: https://www.autodesk.co.uk/products/maya/overview?term=1-YEAR&tab=subscription
Idyllic Pixel, PureRef Available at: https://www.pureref.com/
Epic Games , Unreal Engine 5 Available at: https://www.unrealengine.com/en-US/unreal-engine-5


Comments